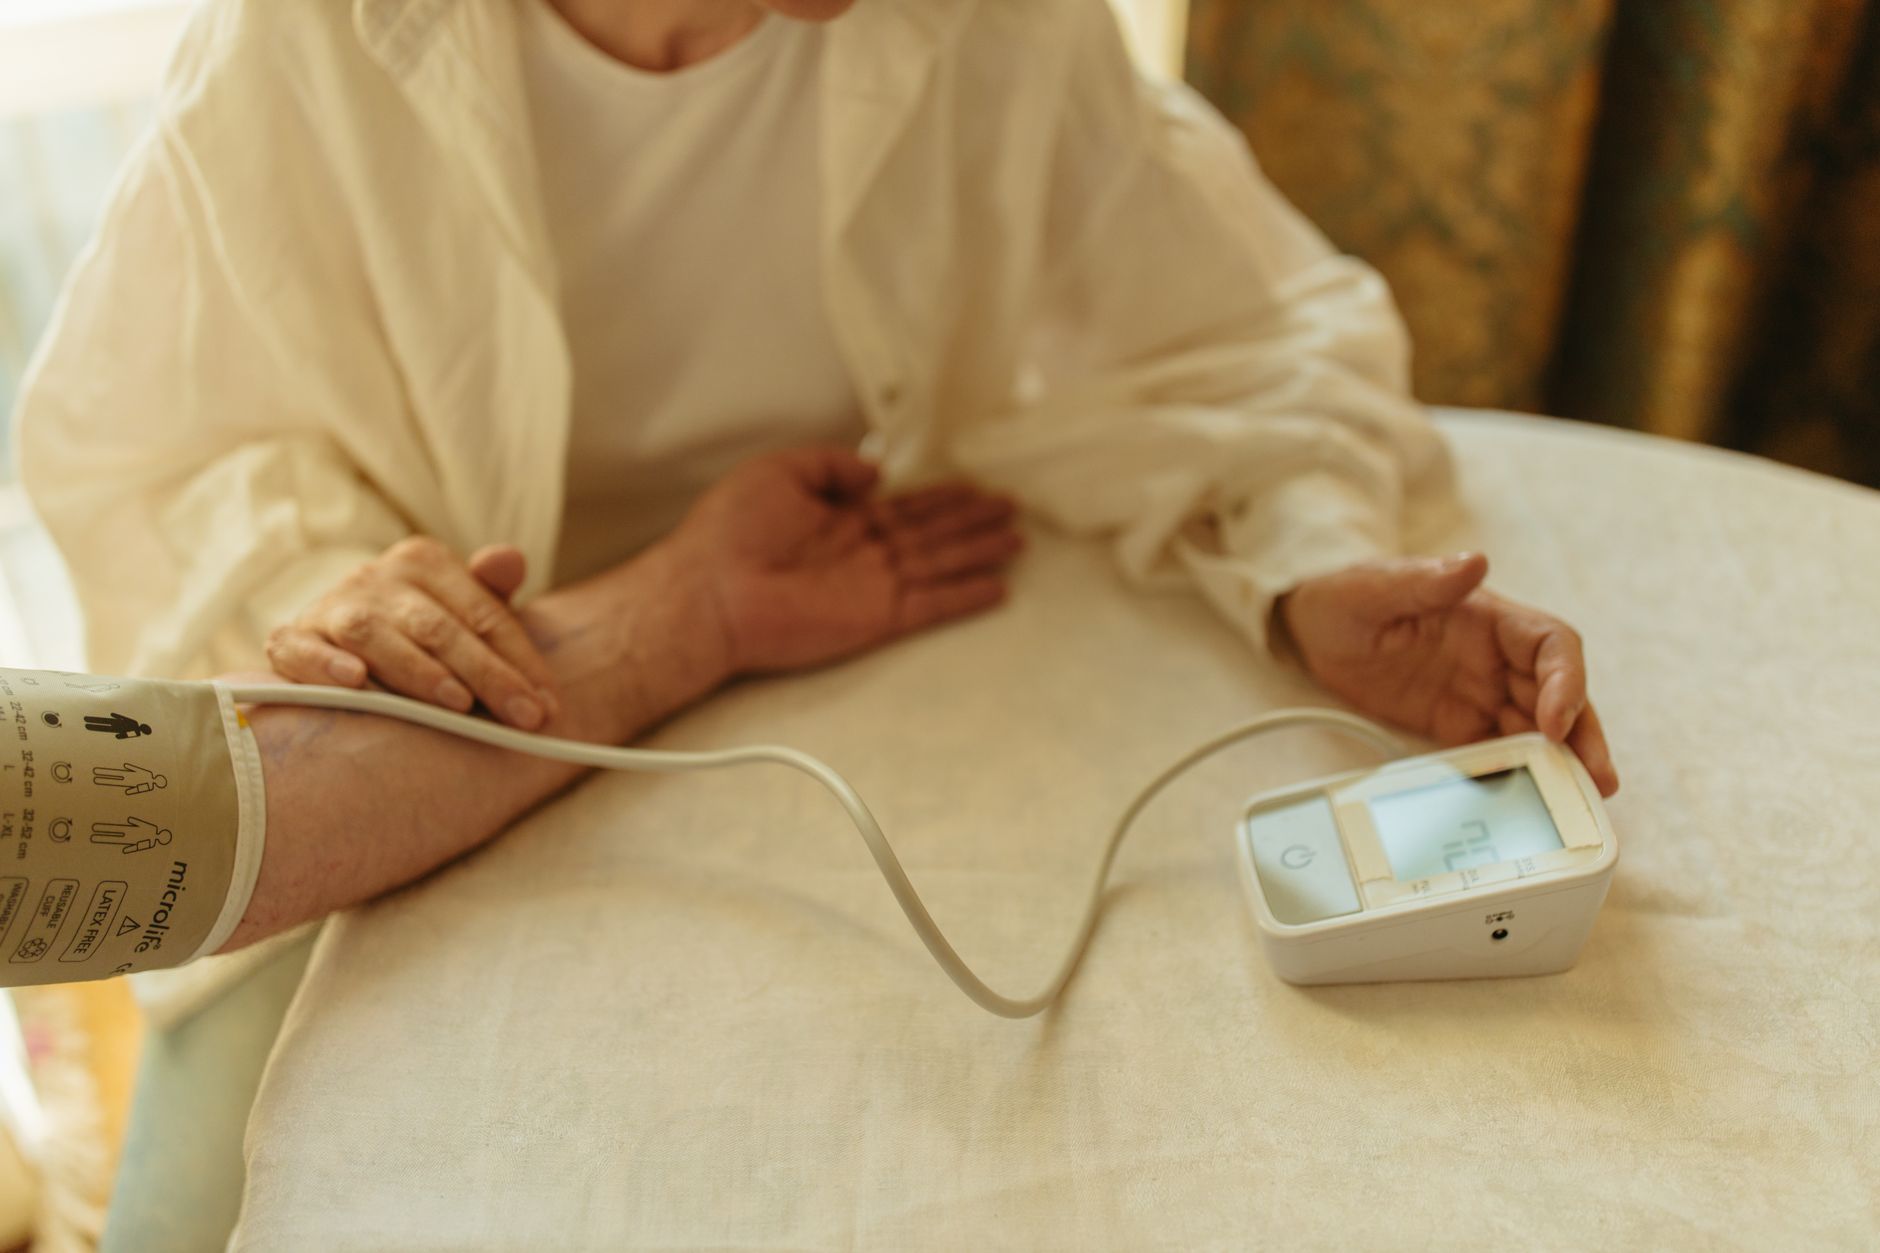
Keeping track of your blood pressure at home is one of the most empowering things you can do for your heart health. Whether you have been recently diagnosed with hypertension, are on medication, or simply want to stay on top of your wellness, a reliable home blood pressure monitor can make a real difference. But there is a catch — the readings are only useful if the monitor is right for you and you are using it correctly.
This guide walks you through everything you need to know about the best way to measure blood pressure at home, from picking the right device to reading your numbers with confidence.
Why Home Blood Pressure Monitoring Matters
A single reading taken at a clinic does not always tell the full story. Some people experience what is known as "white-coat hypertension" — their blood pressure rises simply because they are anxious about seeing a doctor. Others have "masked hypertension," where readings appear normal at the clinic but are elevated at home.
Home monitoring helps your cardiologist see a clearer, more honest picture of your blood pressure throughout the day. In cities like Rajkot, where busy schedules and high-stress environments are common, tracking your numbers at home can alert you and your doctor to trends that a clinic visit might miss.
Key takeaways:
- Home monitors give a more complete blood pressure picture than clinic visits alone.
- Correct technique matters as much as the device itself.
- Always log your readings and share them with your cardiologist.
- Upper-arm monitors are generally more reliable than wrist monitors.
- Measure at the same times each day for consistent results.
- Never adjust your medication based on home readings without medical guidance.
Step 1: Choosing the Right Monitor
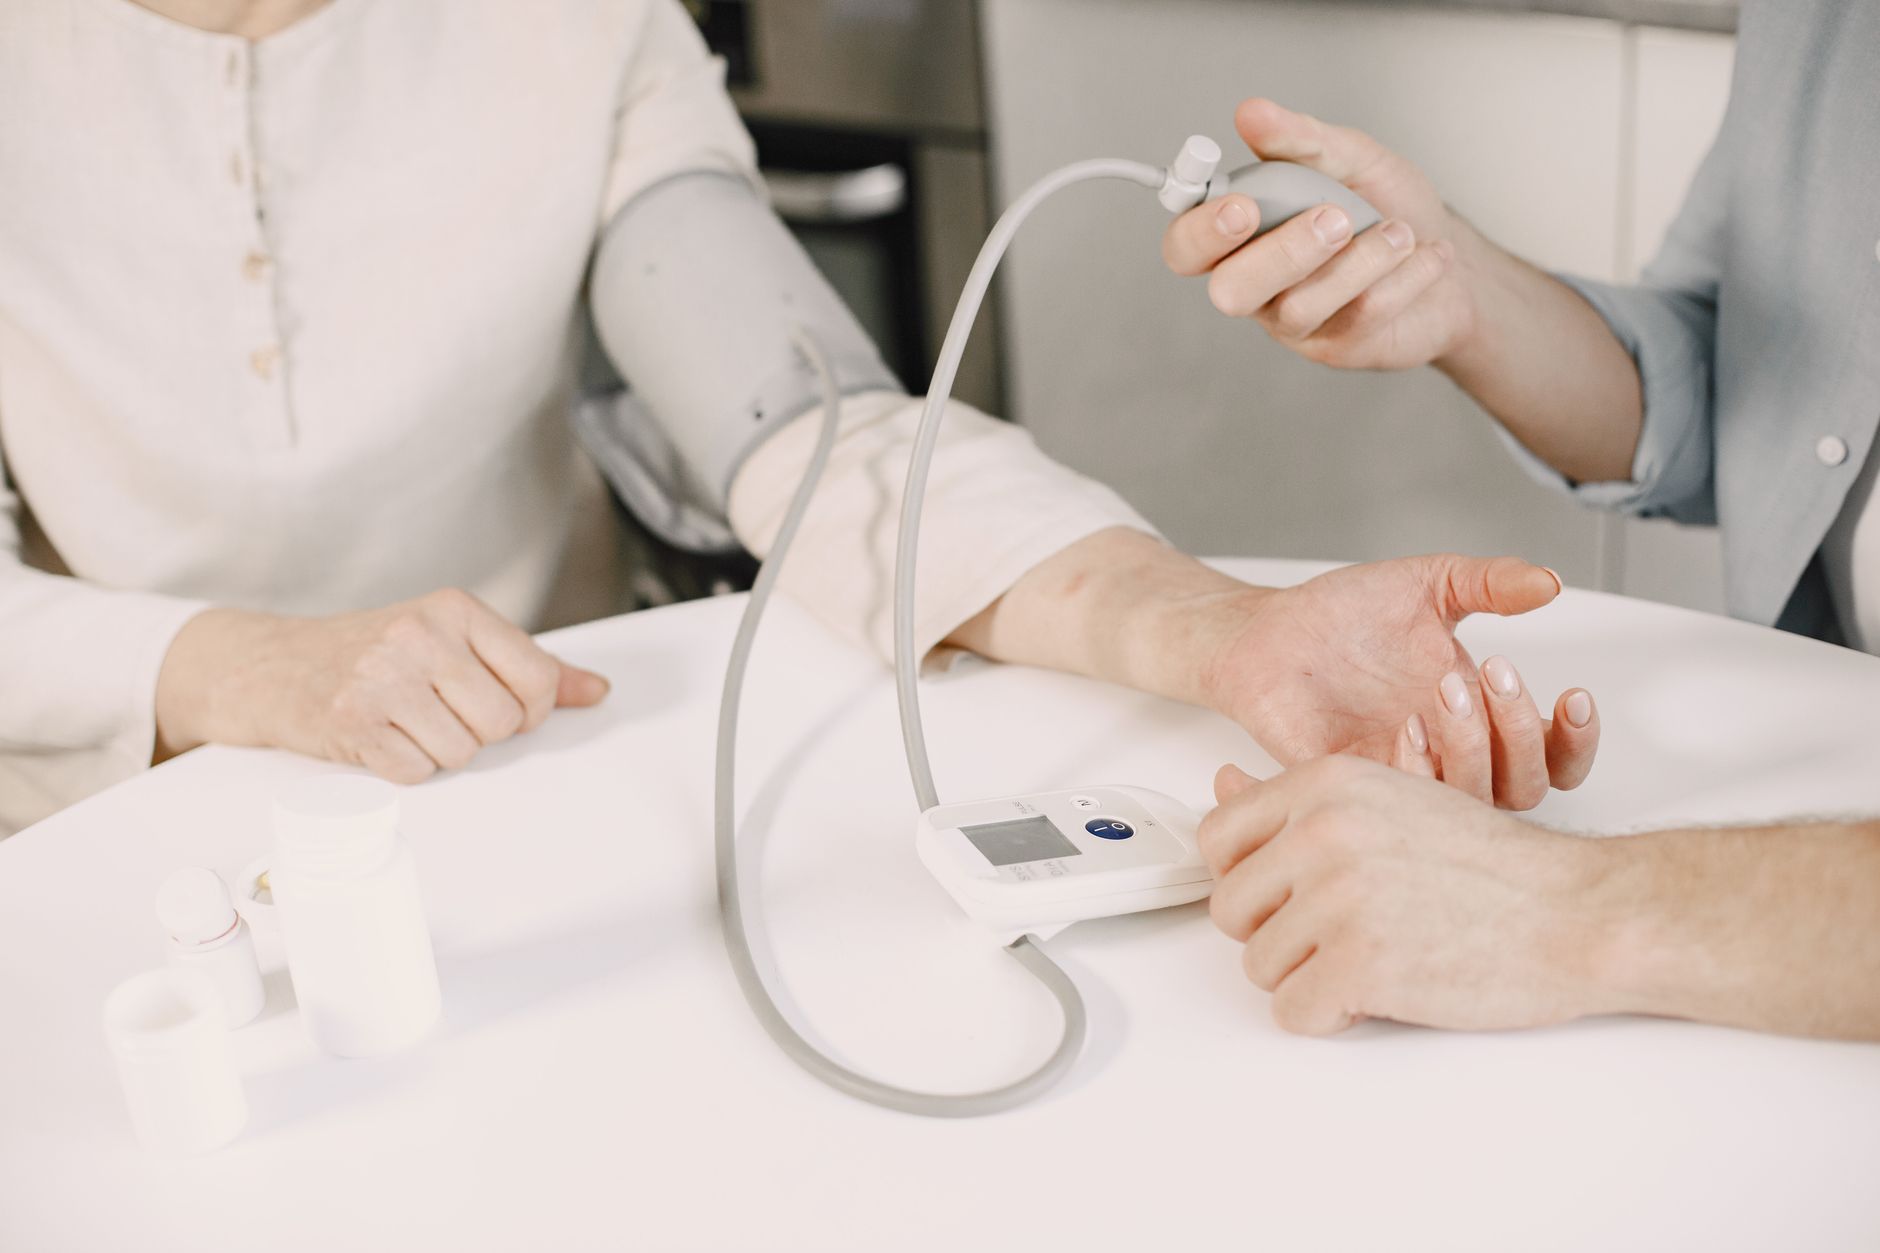
Not all blood pressure monitors are equal. Here is what to look for before you buy.
Go for an Upper-Arm Monitor
Upper-arm monitors (also called brachial monitors) are the most recommended type by cardiologists and international heart associations. They are more accurate than wrist or finger monitors, which can be affected by movement and the position of your arm.
Wrist monitors are convenient for some people with larger arms, but even then, proper positioning is critical. Unless your doctor specifically suggests a wrist device, an upper-arm monitor is the better choice for most adults.
Check for Validation
Look for a monitor that has been clinically validated — meaning it has been tested and approved to give accurate readings. A few things to check:
- A label or listing from the European Society of Hypertension (ESH) or the BIHS (British and Irish Hypertension Society) validated device list.
- A mark from the Indian Medical Device Regulation (MDR) approval.
- Brands commonly recommended include Omron, Microlife, and A&D — though always confirm the specific model is validated.
Get the Cuff Size Right
This is one of the most overlooked steps. A cuff that is too small will give a falsely high reading; a cuff that is too large will give a falsely low one.
Measure the circumference of your upper arm (mid-point between shoulder and elbow). Most monitors come with a standard cuff (22–32 cm). If your arm is larger, look for a monitor that includes or offers a large or extra-large cuff. Many pharmacies in Rajkot and across Gujarat stock a range of cuff sizes, so do not hesitate to ask.
Memory and Connectivity Features
A monitor that stores your readings (at least 60 entries) is very helpful. Some newer models connect to a smartphone app, which makes it easy to share your log directly with your cardiologist during a consultation.
Step 2: Preparing for an Accurate Reading
The best monitor in the world will give you misleading numbers if you do not prepare properly. The best way to measure blood pressure at home is to follow a short but important routine before each reading.
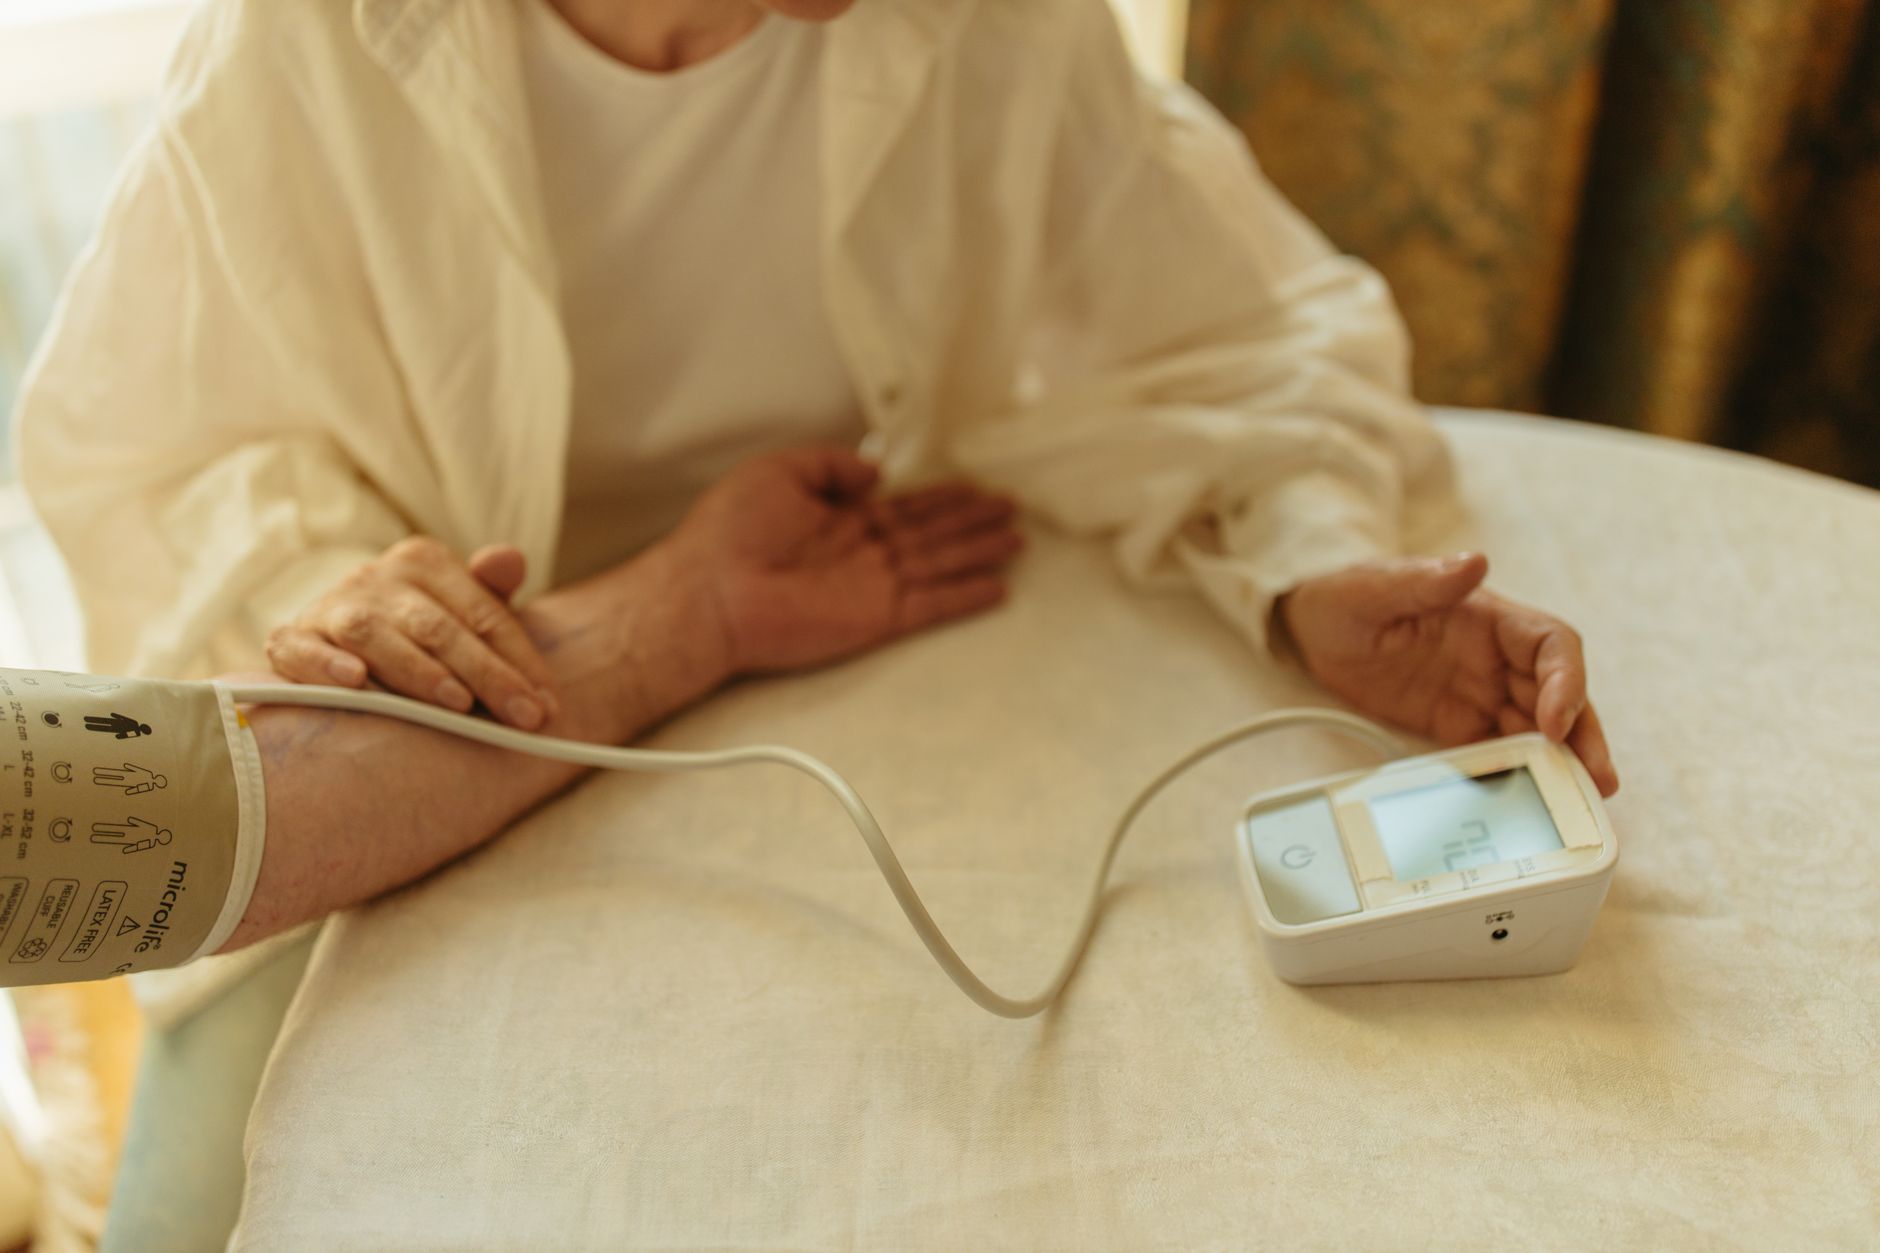
Before You Measure — The 30-Minute Rule
For at least 30 minutes before measuring, avoid:
- Caffeine (tea, coffee, energy drinks)
- Smoking or tobacco (including gutka or beedi)
- Exercise or physical exertion
- A heavy meal
- Stress or emotional upset (if you have just had an argument or received upsetting news, wait until you feel calm)
Empty Your Bladder First
A full bladder can raise blood pressure by 10–15 mmHg. Always use the bathroom before sitting down to measure.
Sit Quietly for 5 Minutes
This is non-negotiable. Sit in a chair with your back supported, feet flat on the floor (not crossed), and rest for at least 5 minutes. Do not talk, watch TV, or scroll your phone during this rest period.
Step 3: Taking the Reading Correctly
Once you are prepared and rested, follow these steps for a reliable measurement.
Position Your Arm Properly
- Sit at a table and rest your arm on it so it is at heart level.
- Your palm should face upward.
- Do not hold your arm up in the air or let it hang by your side — both positions affect accuracy.
Place the Cuff Correctly
- Slide the cuff onto your bare upper arm (not over clothing).
- Position the bottom edge of the cuff about 2–3 cm above the bend of your elbow.
- The cuff should be snug but not tight — you should be able to slip two fingers under it.
- Most cuffs have an arrow or marker that should align with the inner part of your arm, over the artery.
During the Reading
- Sit still and do not speak.
- Keep your arm relaxed and resting on the table.
- Breathe normally.
- Let the machine complete its full cycle before moving.
Take Two or Three Readings
Take two readings, one minute apart, and record both. If the two readings differ by more than 10 mmHg, take a third. Use the average of the closest two readings as your result for that session.
Step 4: Understanding Your Numbers
Blood pressure is recorded as two numbers — for example, 120/80 mmHg.
- The top number (systolic) is the pressure when your heart beats.
- The bottom number (diastolic) is the pressure when your heart rests between beats.
Here is a general reference guide (for adults, as per standard guidelines):
| Category | Systolic (mmHg) | Diastolic (mmHg) |
|---|---|---|
| Normal | Less than 120 | Less than 80 |
| Elevated | 120–129 | Less than 80 |
| High – Stage 1 | 130–139 | 80–89 |
| High – Stage 2 | 140 or higher | 90 or higher |
| Crisis (seek care now) | Higher than 180 | Higher than 120 |
Important: These ranges are general reference points. Your cardiologist will set personalised targets for you, especially if you have diabetes, kidney disease, or other conditions.
Step 5: When and How Often to Measure
For most people managing hypertension, the following routine works well:
- Morning: Measure within 1 hour of waking, before taking any medication and before breakfast.
- Evening: Measure before dinner or bedtime.
- How many days: Take readings for 7 consecutive days before a scheduled appointment, or as advised by your doctor.
Avoid measuring obsessively throughout the day — this can cause anxiety, which itself raises your blood pressure. Two sessions a day is generally enough.
Step 6: Keeping a Log and Sharing It
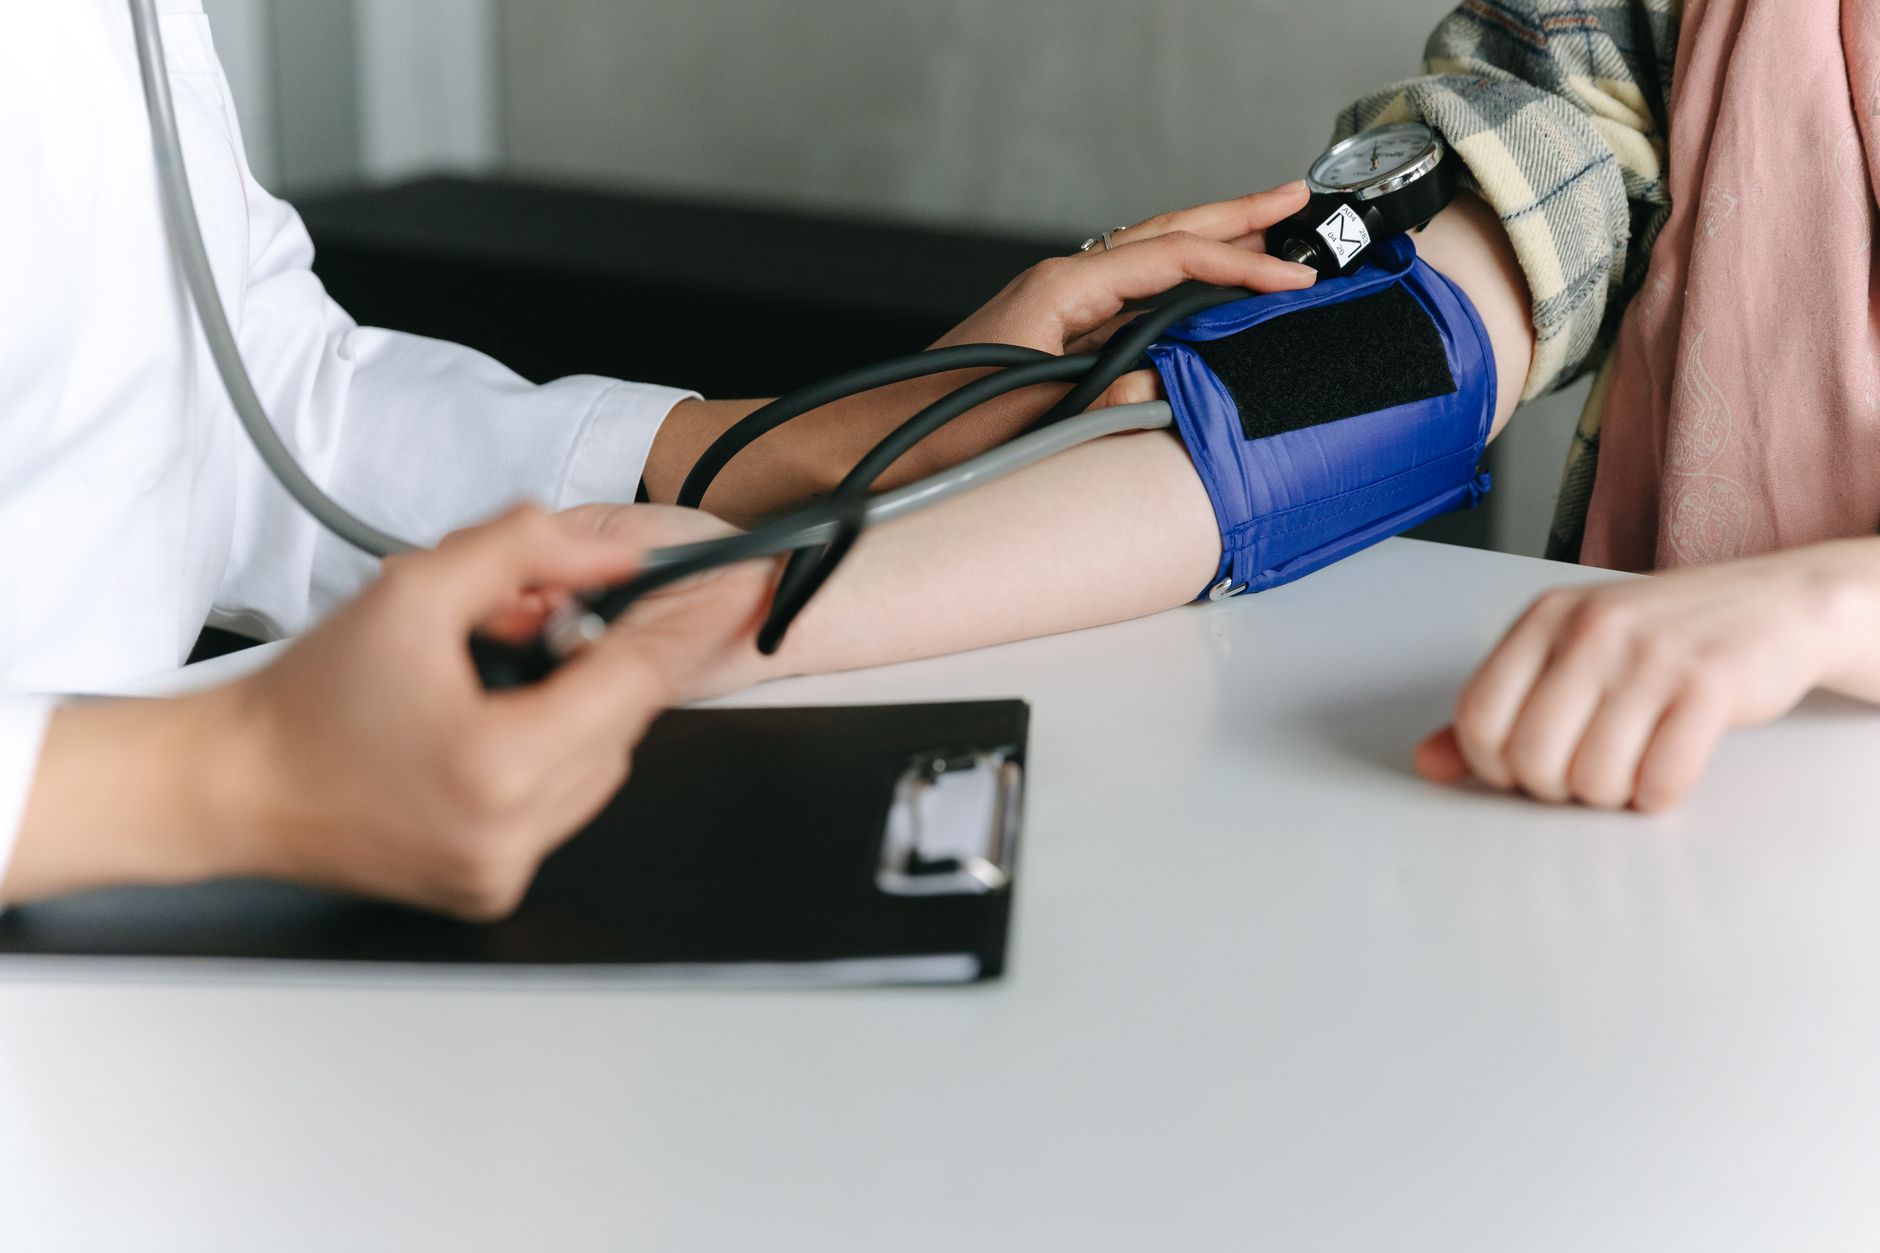
A reading you do not record is a reading wasted. Keep a simple log — a notebook, a printed chart, or a smartphone app — with:
- Date and time of each reading
- Systolic and diastolic values
- Heart rate (most monitors display this)
- Any notes (e.g., "felt stressed," "did not sleep well," "took medication late")
When you visit your cardiologist for a follow-up — whether that is in a clinic in Rajkot or anywhere else in Gujarat — bring this log. It helps your doctor spot patterns, adjust medications if needed, and give you more tailored advice.
Common Mistakes to Avoid
Even with the right monitor, these errors can throw off your readings:
- Talking during the measurement — can raise readings by up to 17 mmHg.
- Crossed legs — can raise diastolic pressure by up to 8 mmHg.
- Arm not at heart level — for every 5 cm below heart level, readings increase by about 2 mmHg.
- Measuring over clothing — the fabric interferes with the cuff's pressure sensing.
- Using a damaged or old cuff — replace the cuff if it is cracked, loose, or no longer inflating evenly.
- Adjusting your own medication — never increase or decrease your blood pressure tablets based on home readings without speaking to your doctor first. This is very important.
A Word on Calibration
Home monitors can drift in accuracy over time. A good practice is to have your monitor checked against the one in your doctor's clinic once a year, or whenever you suspect the readings seem consistently off. Bring your device to your next appointment — most cardiologists are happy to do a quick comparison check.
Keeping track of your blood pressure at home, when done correctly, is a simple, effective way to take an active role in your heart health. If you have any concerns about your readings, are newly diagnosed with high blood pressure, or would like personalised guidance on home monitoring, consider booking a consultation with a qualified cardiologist who can review your numbers and help you stay on the right track.
Frequently asked questions
- What is the best way to measure blood pressure at home accurately?
- The best way is to sit quietly for 5 minutes before measuring, place an upper-arm cuff on bare skin at heart level, avoid caffeine and exercise for 30 minutes beforehand, and take two readings one minute apart. Record the average and share your log with your cardiologist.
- Is a wrist blood pressure monitor as accurate as an upper-arm monitor?
- Upper-arm monitors are generally more accurate because they measure closer to the heart and are less affected by arm position. Wrist monitors can be used when an upper-arm cuff does not fit properly, but positioning must be very precise. Consult your doctor for guidance on which type suits you.
- How often should I check my blood pressure at home?
- For most people managing high blood pressure, measuring twice a day — once in the morning before medication and once in the evening — for about seven days before a doctor's appointment is a good routine. Avoid measuring too frequently throughout the day, as this can increase health anxiety.
- When should a high home blood pressure reading be treated as an emergency?
- If your reading is consistently above 180/120 mmHg, especially if accompanied by symptoms such as severe headache, chest pain, shortness of breath, or vision changes, seek emergency medical care immediately. A single high reading without symptoms should be rechecked after a few minutes of rest and reported to your cardiologist promptly.