Home blood pressure monitors have become one of the most common health devices in Indian households — and for good reason. With hypertension affecting nearly 1 in 3 adults in India, keeping an eye on your numbers between clinic visits is a smart, proactive habit. In our practice in Rajkot, we see many patients who regularly check their blood pressure at home — which is wonderful. But very often, small mistakes in how they measure lead to readings that are either falsely high or falsely low, causing unnecessary worry or, worse, a false sense of security.
This guide will walk you through how to use a blood pressure monitor at home correctly, explain what those two numbers on the screen truly mean, and help you avoid the most common pitfalls.
What Do Those Two Numbers Actually Mean?
When your monitor flashes something like 128/82 mmHg, it can feel like a secret code. Let's decode it simply.
- The top number (Systolic pressure): This is the pressure in your arteries when your heart beats and pumps blood out. Think of it as the "push" of the pump.
- The bottom number (Diastolic pressure): This is the pressure when your heart rests between beats — the "background" pressure your arteries are always under.
- mmHg stands for millimetres of mercury — it is simply the unit used to measure pressure, inherited from older mercury-based instruments.
What Are the Healthy Ranges?
Here is a simple reference guide based on standard cardiology guidelines:
| Category | Systolic (mmHg) | Diastolic (mmHg) |
|---|---|---|
| Normal | Less than 120 | Less than 80 |
| Elevated | 120–129 | Less than 80 |
| High Blood Pressure Stage 1 | 130–139 | 80–89 |
| High Blood Pressure Stage 2 | 140 or higher | 90 or higher |
| Hypertensive Crisis | Higher than 180 | Higher than 120 |
Important: A single reading outside the normal range does not mean you have hypertension. Blood pressure naturally rises and falls throughout the day. What matters is a pattern of readings over time — which is exactly why home monitoring is so valuable.
Choosing the Right Monitor
Before worrying about technique, make sure your device is appropriate.
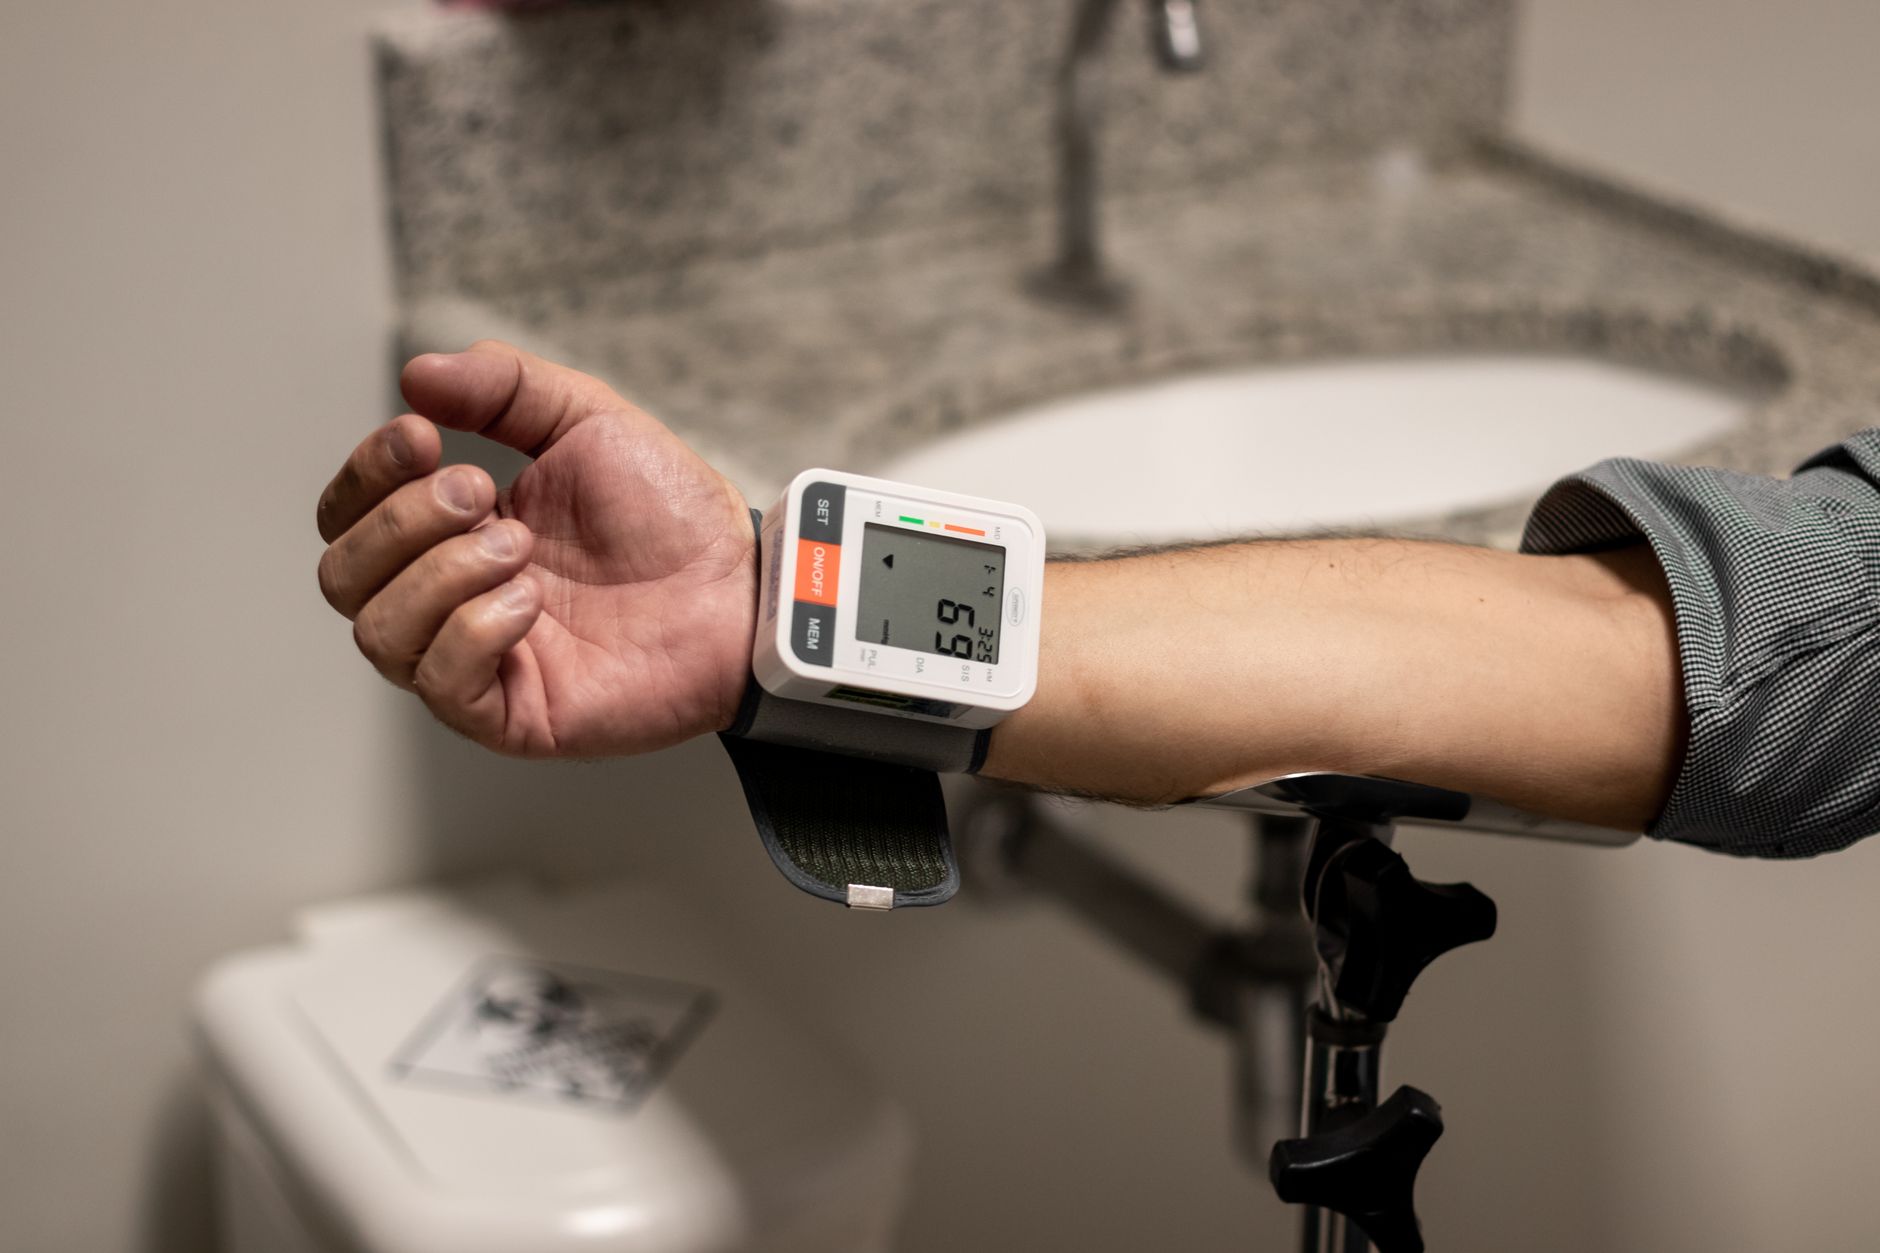
- Upper arm monitors are recommended over wrist monitors for most adults. Upper arm cuffs tend to be more accurate, especially if you have any irregular heart rhythm.
- Check the cuff size. A cuff that is too small will give a falsely high reading; one that is too large will give a falsely low reading. Measure your upper arm circumference and match it to the cuff size stated on the box.
- Look for a validated device. Devices validated by independent organisations (such as the British Hypertension Society or dabl Educational Trust) are more reliable. Your cardiologist can help you choose a trustworthy brand.
- Calibrate periodically. Bring your home monitor to your next clinic visit. We are happy to compare its reading against the clinic measurement to check its accuracy.
How to Use a Blood Pressure Monitor at Home Correctly: Step-by-Step
Getting accurate readings is less about the device and more about how you use it. Follow these steps every time.
Step 1 — Prepare Yourself (5 Minutes Before)
This is the step most people skip — and it is the most important one.
- Rest quietly for at least 5 minutes before measuring. Sit in a chair with your back supported, feet flat on the floor.
- Do not smoke, drink tea or coffee, or exercise for at least 30 minutes beforehand. All of these temporarily raise your blood pressure.
- Empty your bladder first. A full bladder can add 10–15 mmHg to your reading.
- Avoid talking or checking your phone during the measurement.
Step 2 — Position Your Body Correctly
- Sit at a table, not on a sofa or bed where you may be slouched.
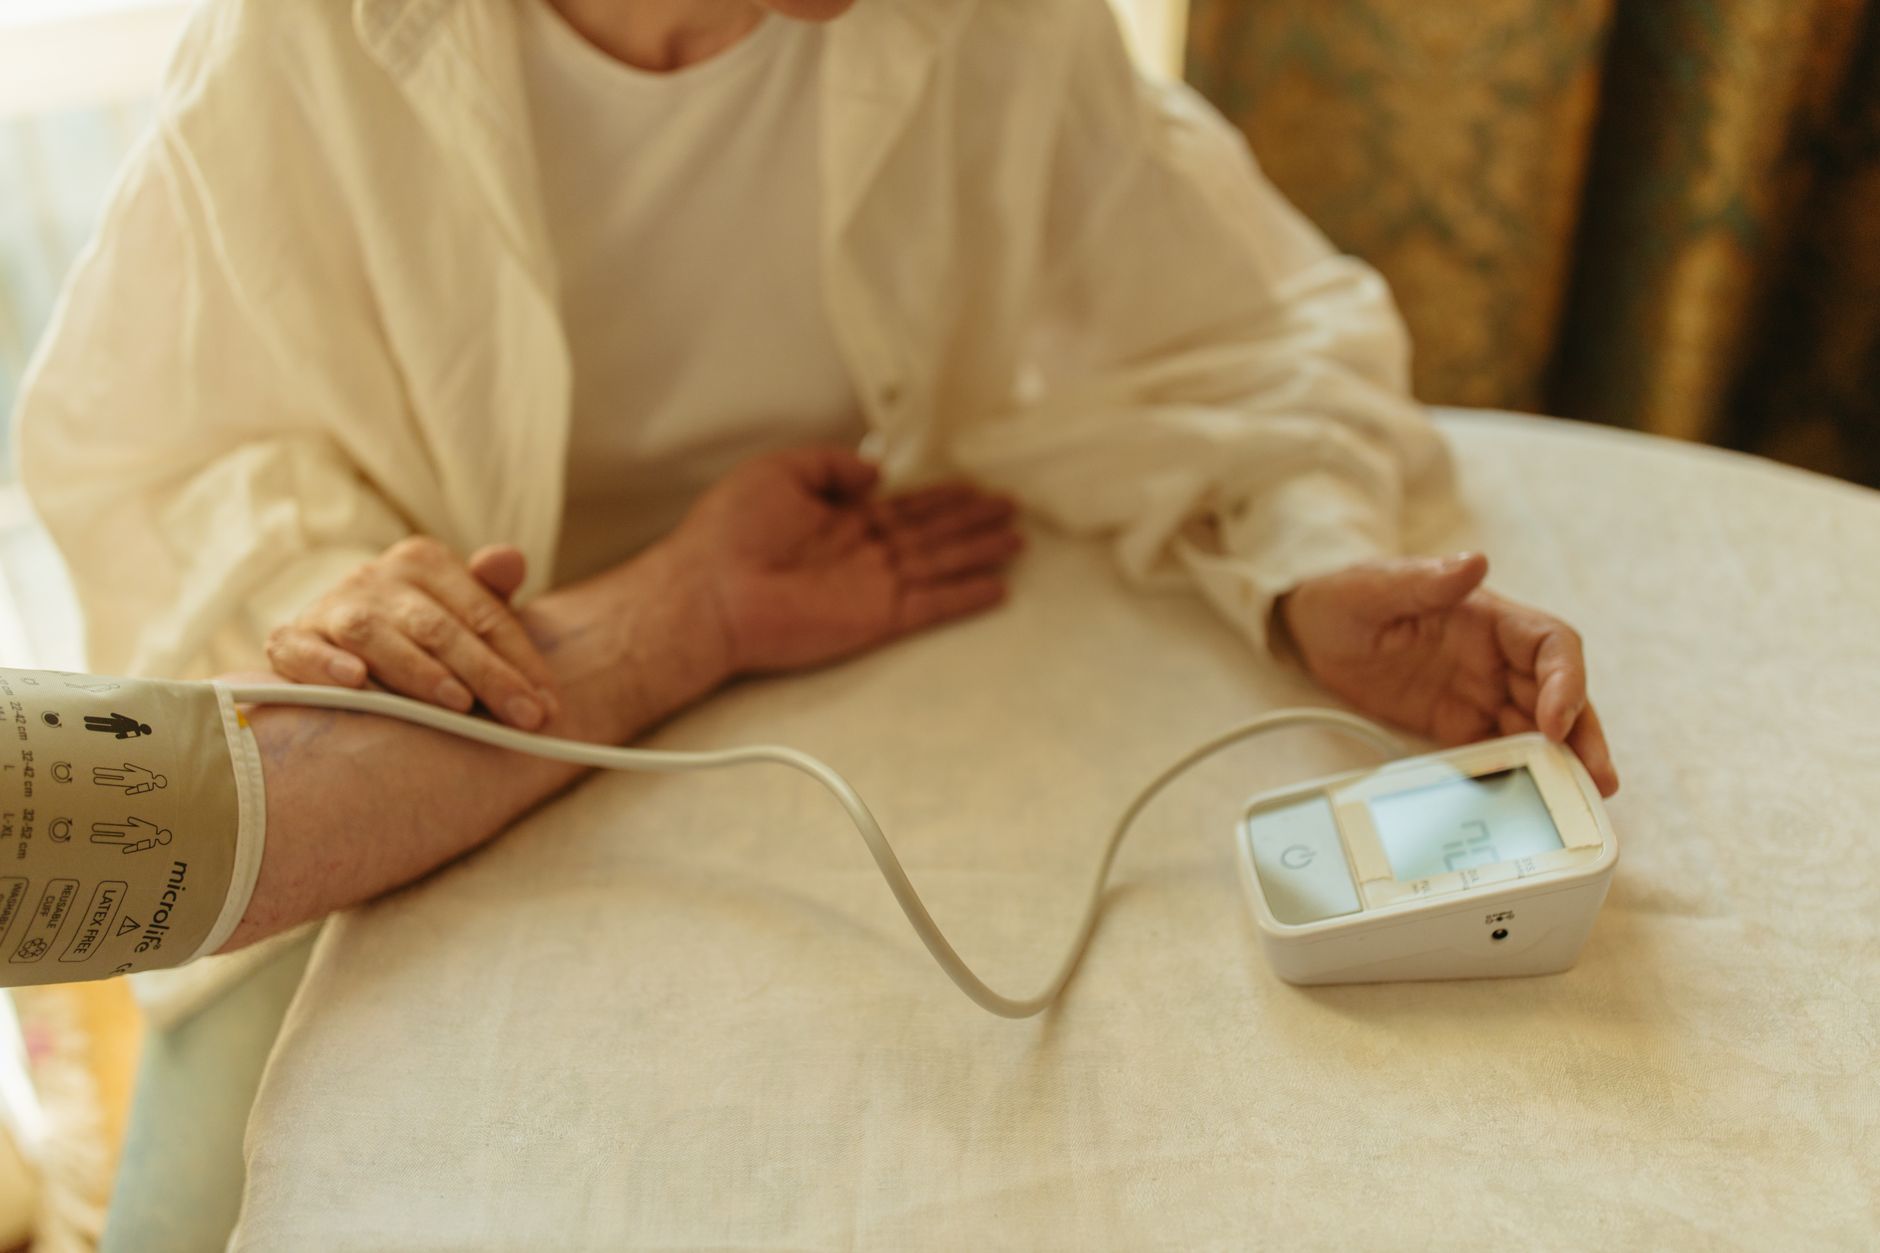
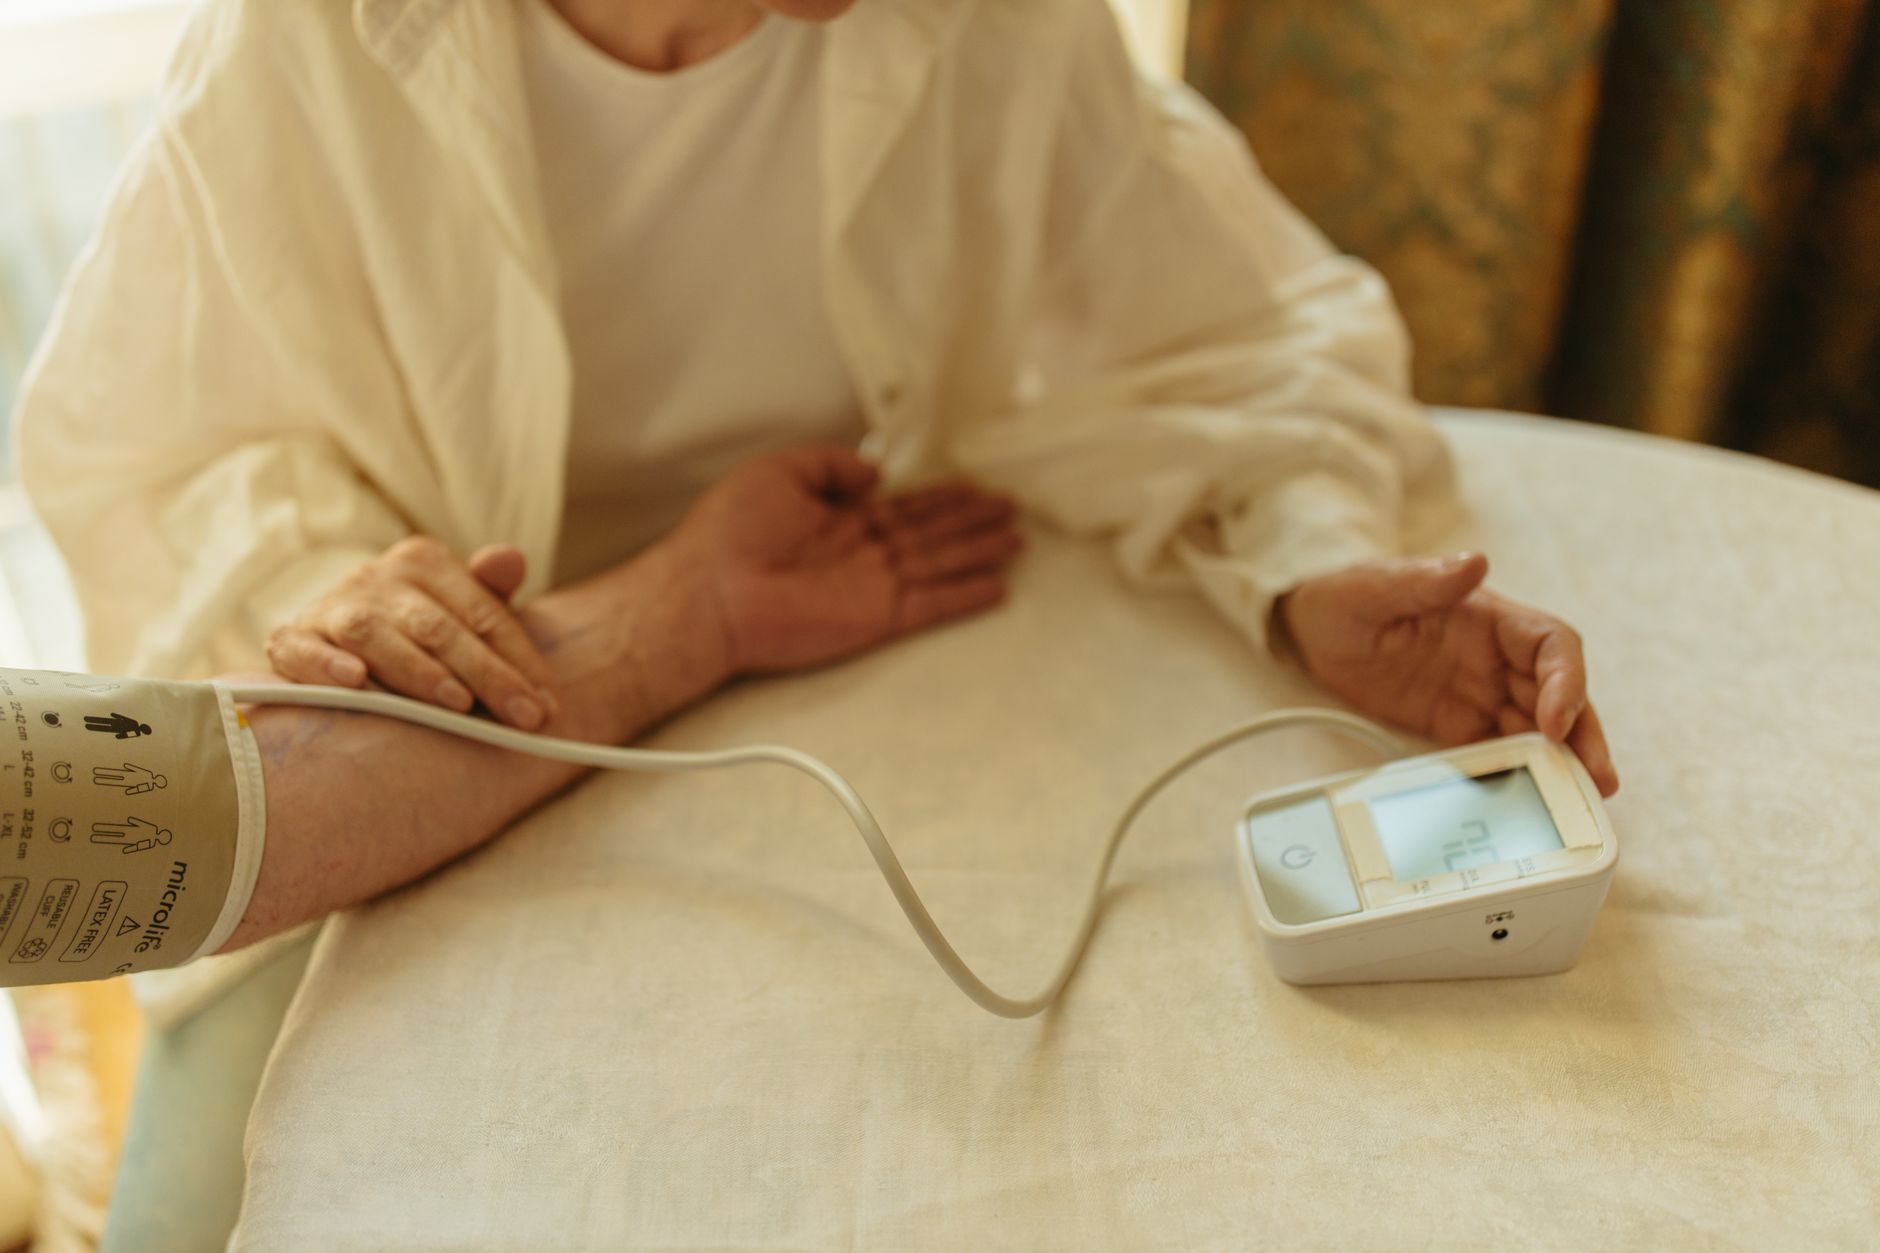
- Rest your arm on the table, palm facing upward, at roughly heart level. If your arm is below heart level, your reading may be falsely high.
- Keep your feet flat on the floor — do not cross your legs. Crossing legs can raise the systolic reading by up to 8 mmHg.
- Keep your back supported by the chair. Unsupported posture adds pressure too.
Step 3 — Apply the Cuff Properly
- Place the cuff on your bare upper arm — not over clothing. Even a thin sleeve can alter the reading.
- The cuff should sit 2–3 cm above the crease of your elbow.
- It should be snug but not tight — you should be able to slide two fingers under it.
- The tubing should run down the inner side of your arm toward the elbow.
Step 4 — Take the Measurement
- Sit still, breathe normally, and press the start button.
- Do not talk or move while the cuff inflates and deflates.
- Once the reading appears, note down all three values: systolic, diastolic, and pulse rate.
Step 5 — Record and Repeat
- Wait 1–2 minutes, then take a second reading. If the two readings are close (within 5 mmHg of each other), average them or use the second reading.
- Record your readings in a diary or app with the date, time, and any relevant notes (e.g., "had a stressful morning" or "just returned from a walk").
- Measure at the same times each day, ideally morning (before medications and breakfast) and evening (before dinner).
The Most Common Mistakes — and How to Fix Them
Even experienced home monitors make these errors:
-
Measuring right after activity or stress — Your blood pressure after a brisk walk or a heated argument will be much higher than your true resting level. Always rest first.
-
Wrong arm position — Holding your arm up in the air or resting it in your lap (below heart level) skews the reading. Use a table.
-
Cuff over clothing — Even a thin kurta sleeve can compress unevenly and distort the measurement. Roll up your sleeve or remove it.
-
Taking only one reading and panicking — A single high reading is not a diagnosis. A 55-year-old might, for example, notice a reading of 155/95 after rushing home from work, sit down, rest for ten minutes, and re-check to find 128/82. Context matters enormously.
-
Using a wrist monitor incorrectly — If you do use a wrist monitor, your wrist must be held at heart level. Most people hold it lower, producing falsely high results.
-
Ignoring the pulse reading — The pulse rate shown on your monitor is useful context. A very fast or irregular pulse alongside a high BP reading is worth noting and mentioning to your cardiologist.
-
Not sharing your diary with your doctor — Home readings are genuinely useful clinical data. Bring your log to every appointment. In Rajkot, where many of our patients monitor diligently at home, a well-kept BP diary often helps us make more informed treatment decisions than a single clinic reading ever could.
Understanding "White Coat" and "Masked" Hypertension
Two phenomena make home monitoring especially valuable:
- White coat hypertension: Blood pressure that is high in a clinical setting but normal at home. This is surprisingly common and can lead to unnecessary medication if home readings are not considered.
- Masked hypertension: The opposite — normal readings at the clinic but elevated at home or during daily activities. This is actually more dangerous because it can go undetected and untreated.
Home monitoring, done correctly, helps your cardiologist distinguish between these patterns and make truly personalised decisions about your care.

When Should You Call Your Doctor?
Home monitoring is reassuring most of the time. But contact your healthcare provider promptly if:
- Your readings are consistently 140/90 mmHg or above over several days.
- You notice a sudden sharp rise — for example, above 180/120 mmHg — especially with symptoms like a severe headache, blurred vision, chest pain, or shortness of breath. This is a medical emergency; go to the nearest hospital immediately.
- Your readings are consistently very low (below 90/60 mmHg) and you feel dizzy or faint.
- You notice your pulse is frequently irregular on the monitor display.
Key Takeaways
- Systolic (top number) = pressure when heart beats; Diastolic (bottom number) = pressure when heart rests.
- A normal reading is below 120/80 mmHg; consistently at or above 130/80 warrants medical attention.
- Always rest for 5 minutes before measuring — this single step improves accuracy more than any device upgrade.
- Use an upper arm cuff of the correct size, applied to bare skin at heart level.
- Take two readings, 1–2 minutes apart, and record both with the time and date.
- Avoid coffee, smoking, exercise, and a full bladder for at least 30 minutes before measuring.
- Share your home BP diary with your cardiologist — it is valuable clinical information.
- A single abnormal reading is not a diagnosis; look for patterns over days and weeks.
If your home readings are causing concern, or if you would simply like guidance on which monitor to buy and how to interpret your log, consider booking a consultation with a qualified cardiologist. Small adjustments in technique and timely medical advice can make a very meaningful difference to your long-term heart health.
Frequently asked questions
- Which arm should I use to measure blood pressure at home?
- For most people, either arm can be used, but it is common to find a small difference between arms. At your first check, measure both arms. Going forward, consistently use the arm that gives the higher reading — this is the clinically safer approach. Your cardiologist can advise you during your first visit.
- How often should I check my blood pressure at home?
- If you have been diagnosed with hypertension or are monitoring a borderline reading, twice daily is ideal — once in the morning before medications and breakfast, and once in the evening before dinner. If your blood pressure is well-controlled and stable, your doctor may suggest less frequent checks. Always follow the schedule recommended by your cardiologist.
- My home reading is very different from my clinic reading. Which one is correct?
- Both can be correct — they may simply be measuring different things. A higher clinic reading may indicate 'white coat hypertension' caused by the stress of a medical setting. A higher home reading might suggest 'masked hypertension.' Share your home diary with your cardiologist so they can interpret the full picture and decide on the right approach for you.
- Can I rely on a wrist blood pressure monitor instead of an upper arm one?
- Upper arm monitors are generally preferred because they are more accurate for most adults and are less sensitive to arm position. Wrist monitors can be used but require very precise positioning — your wrist must be held exactly at heart level during the reading. If you use a wrist device, bring it to your clinic visit so your cardiologist can verify its accuracy against a standard measurement.